Sponsor shirts give businesses a way to support a cause while helping organizers cover the costs of an event. The design also gives participants a shared look, with sponsor logos displayed alongside the event’s name or artwork.
The trick is fitting everything onto a shirt without ending up with a crowded collection of logos. From simple sponsor grids to illustrated fundraiser designs, these sponsor shirt ideas offer different ways to organize your artwork.
1. Put Sponsor Logos in a Grid on the Back
A grid is a practical option when several businesses are contributing to your event. It gives every sponsor a designated space and keeps the overall design organized.
Place the event name or charity logo on the front, then arrange the supporting sponsors in rows across the back. If the event has a main sponsor, you can give its logo a more prominent position near the top, with the remaining businesses underneath.
Keep logos at similar heights within each row and leave enough space between them for each brand to remain recognizable. A solid shirt color also helps tie together logos that use different brand palettes.
2. Give Your Main Sponsor the Spotlight
Some sponsorship packages offer greater visibility to businesses contributing larger amounts. A prominent chest logo gives the main sponsor a clear position, while the back provides room for the other supporters.
For a charity run, you could place the primary sponsor above the event name on the front. Supporting businesses could appear in smaller rows on the back, with the charity’s website near the bottom.
For a sports team, the main sponsor could sit across the chest, with the team name and secondary sponsors on the back.
Before finalizing the artwork, confirm the placement and size promised to each sponsor.
3. Let the Cause Lead the Design
A charity shirt has a story to tell, and the main graphic can communicate that story before anyone gets close enough to read the smaller details.
For an animal rescue fundraiser, consider an illustrated paw print with the name of the organization underneath. A beach cleanup could feature a drawing of the local coastline, while a cancer research fundraiser might use a ribbon alongside the event name.
Keep the main graphic large enough to be recognizable from a distance. Sponsor logos can sit in a separate block on the back, leaving the front artwork plenty of room.
This layout works particularly well when participants and volunteers will be wearing the shirts throughout the event. It gives the group a recognizable design while acknowledging the businesses supporting the cause.
4. Put the Event Name Front and Center
Sometimes the event name is all the artwork you need. Large typography can give a shirt a distinctive look without requiring an elaborate illustration.
For a charity cycling challenge, for example, you can print the event name across the chest in bold lettering, with the year underneath. A school fundraising day could use playful lettering in the school’s colors, and a community festival could incorporate a local landmark into the design.
If the event name is long, stack the words over several lines rather than shrinking the text to fit. Keep the lettering easy to read and leave the back available for sponsors.
Including the year is especially useful for annual events, as it gives each edition its own identity.
5. Design Sponsor Shirts for a Sports Team
Local sports teams often rely on sponsors to help cover equipment, tournament fees, and travel expenses. A coordinated shirt design gives the team a consistent appearance while providing businesses with visibility at games and competitions.
For a running club, use the club name and emblem on the front, with the primary sponsor across the upper back. Additional sponsors can sit below in smaller rows.
A school sports team could feature its mascot on the chest, with the school name and sponsor logos on the back. Team colors help bring the design together, especially when several businesses have different logo colors.
If the shirts will be worn for training, choose a comfortable style suited to regular activity. Also make sure to check any league or competition rules about sponsor placement before finalizing the artwork.
6. Use Sponsor Names Instead of Logos
Collecting artwork from every sponsor can take time, particularly when small businesses don’t have print-ready logo files. A text-based layout gives you another way to acknowledge everyone involved.
Print the business names in a consistent font, arranging them in columns or rows beneath the event name. You can still give the main sponsor a larger position at the top, with supporting businesses listed underneath.
This approach suits smaller fundraisers and events where simplicity is better. It also avoids the visual clutter that can result from combining logos with very different proportions.
Ask each business to confirm its name and capitalization before approving the final design.
7. Put Additional Sponsors on the Sleeves
When your sponsor list grows, the sleeves offer extra space. This can be useful for larger charity events with several contributing businesses.
For example, a team shirt could feature the team emblem on the front, the main sponsor on the back, and smaller sponsor logos on the sleeves. For a charity event, the sleeves could carry the names of supporting organizations while the main design stays focused on the cause.
Keep sleeve artwork relatively small and simple. Check the available print area on your chosen shirt style, and consider how the logos will look when the sleeves are folded or covered by other clothing.
8. Create a Limited-Edition Fundraiser Shirt
A shirt designed specifically for an annual fundraiser can serve as a souvenir for participants and supporters. The artwork can reflect the event’s location or theme, with sponsor logos placed in a dedicated area.
For a beach cleanup, you might use an illustrated ocean scene with the event name and year. A charity concert could feature custom event artwork on the front, with sponsors listed on the back.
If you plan to sell the shirts to raise additional funds, calculate the production cost and selling price before placing your order. You’ll also want to estimate the number of shirts you can reasonably sell and collect size preferences in advance.
For events that repeat every year, changing the illustration or color scheme gives returning participants a reason to look forward to the next design.
9. Keep It Simple With a One-Color Print
A one-color print can simplify the artwork and help manage the apparel budget.
For example, white ink on a navy shirt or black ink on a white or light gray shirt creates a coordinated, straightforward look.
Before converting the logos to one color, check that the sponsors approve the treatment and that their brand marks remain recognizable. Some logos depend on color to distinguish different elements.
If the design includes many sponsors, consistent sizing and spacing will help keep the back legible. We can review your artwork before printing to check its suitability for the selected method.
10. Use Different Shirt Colors for Volunteers and Participants
Large events often need an easy way to distinguish organizers, volunteers, and participants. Different shirt colors can help people identify the right person when they need directions or assistance.
You can keep the event logo and sponsor arrangement consistent across all versions, adding a small label like “STAFF” or “VOLUNTEER” where needed.
This format works well for charity festivals, sponsored races, school events, and community cleanups.
Before ordering, count the shirts needed for each group and collect sizes. If the same artwork will appear on several shirt colors, check that the ink provides enough contrast on every version.
Shirt Style Options
- Budget-friendly: Gildan 5000 Heavy Cotton T-Shirt ($7.75)*
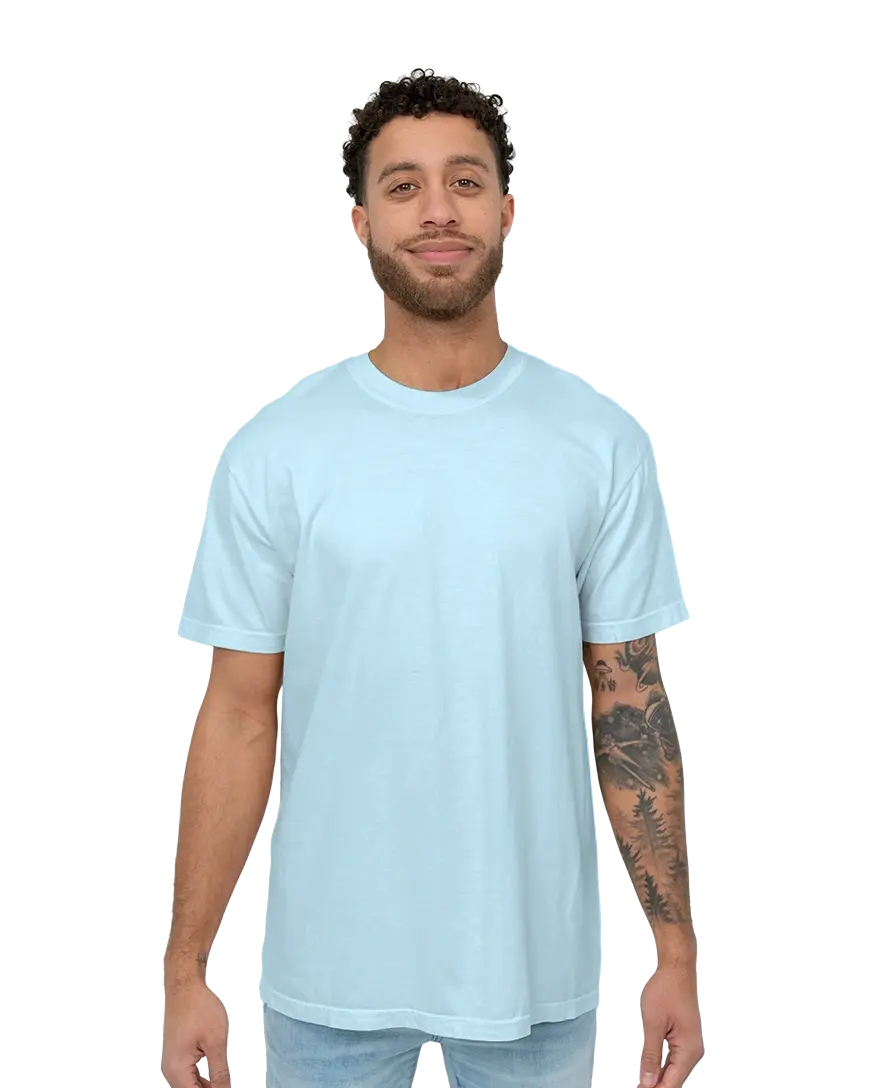
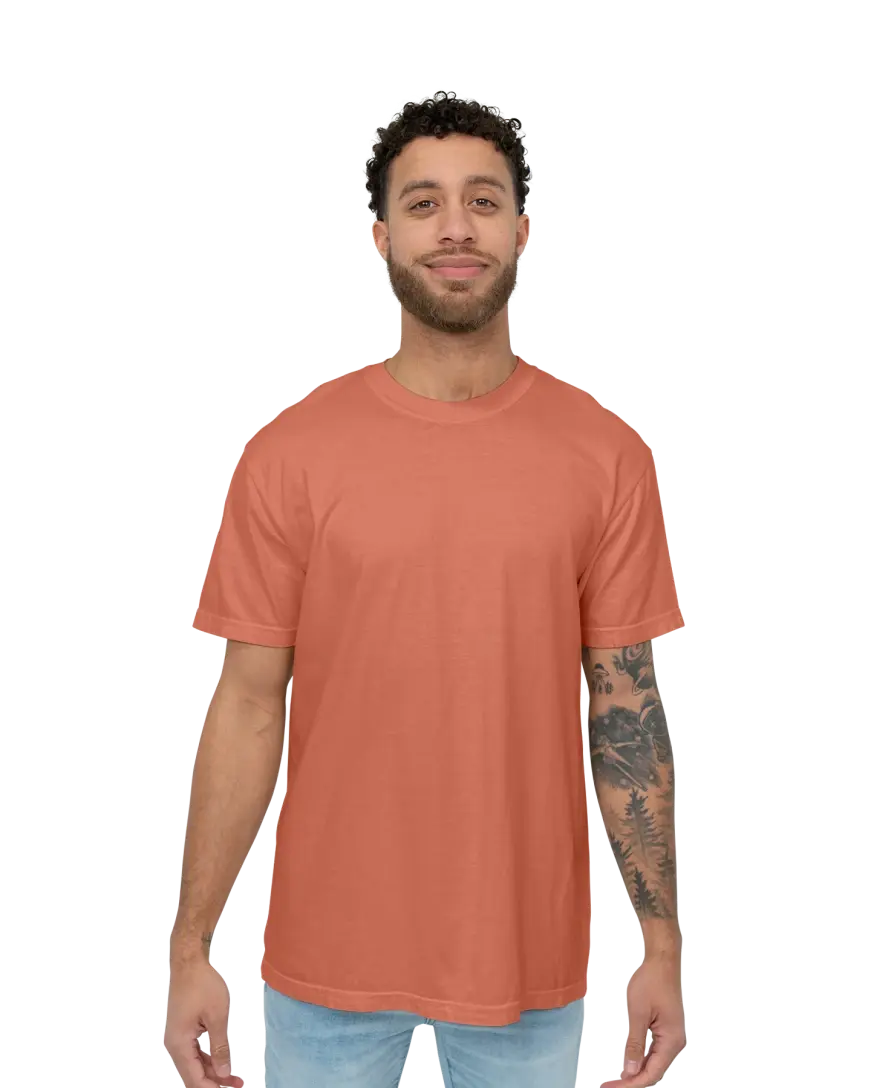
- For a softer, more casual look: Comfort Colors 1717 Pigment-Dyed T-Shirt ($13.97)*
- For a sturdy and traditional shirt: Gildan 2000 Ultra Cotton Tee ($8.30)*
- For colder weather: Gildan 2400 Ultra Cotton Long-Sleeve Tee ($12.04)*
*Prices based on 50 shirts with a 1-color front print.
Tips for Getting Your Sponsor Shirts Ready
Once you’ve settled on a design, a little preparation can help keep your order on schedule.
- Collect sponsor artwork early. Ask businesses for their preferred logos and approved business names before the design deadline.
- Confirm logo placement with sponsors. If different sponsorship levels come with different visibility, agree on the layout before sending the artwork to print.
- Choose a shirt color that works with the design. Check how the background will look with the event artwork and sponsor logos.
- Allow enough room for every logo. A design with six sponsors needs a different layout from one with twenty. Avoid shrinking everything until the names become difficult to read.
- Gather sizes before ordering. Include the organizers and volunteers in your count, and check the size range available for your selected shirt.
- Plan around your event date. Review production and shipping options before confirming when the shirts will be distributed. At BlueCotton, our standard delivery time is 10 business days, with additional rush options available.
Bringing Your Sponsor Shirt Design Together
The best sponsor shirts balance the event’s identity with the businesses supporting it. Start with a clear idea for the front, decide how to organize the sponsor logos, and leave enough space for everything to remain readable. You can use our Quick Price tool to easily determine the cost. Once the design is ready, we can help you bring it to life on a custom-printed shirt.